Overview
VTK is the primary rendering backend for iMSTK, though it can be used without rendering/standalone. This also allows one to utilize any rendering backend they wish.
A VTKViewer is used to render an iMSTK Scene. Setup as:
Given the scene it sets up RenderDelegates for every VisualModel. While a VisualModel model gives what is to be rendered. The RenderDelegate implements it. Keeping rendering backend separate from iMSTK. Typically the VTKViewer is given to the SimulationManager to update. But if one would instead like to invoke render themselves. Just call update on the viewer.
Camera
Cameras in iMSTK are used for rendering. They must be given to the scene and set as active. There are default cameras with the iMSTK scene. Camera's allow control with (position, focal point, up) or by view matrix directly.
OR
Additionally the fov can change.
A camera also has a near and far. That is how close and far it can render. These are not adjusted automatically at any point in iMSTK.
Quickly get the forward direction with Camera::getForward
Ask the Camera for a ray direction emanating from where the user has clicked:
RenderMaterial
RenderMaterials give properties of VisualModel to be rendered. Importantly we have a DisplayMode
- Surface: Renders only the surface of the geometry.
- Wireframe: Renders only the wireframe of the geometry, edges of the cells.
- Points: Renders only the vertices of the geometry.
- WireframeSurface: Renders both the surface of the cells
As well as a choice between ShadingModels: - Phong: Computes lighting with normals per every fragments/pixels. - Gourand: Computes lighting with normals per vertex then interpolates over fragments/pixels. - Flat: Computes lighting per cell and uses it for every fragment/pixel of that cell. - PBR: Uses phong shading but has a very specific model based on realistic parameters.
To setup a basic material we can do:
This gives us orange edges, gray default surface color, and edges that are displayed with size 2. The typical phong model allows us to specify specular, diffuse, and ambient lighting. We give scales and colors for each.
Physically Based Rendering (PBR)
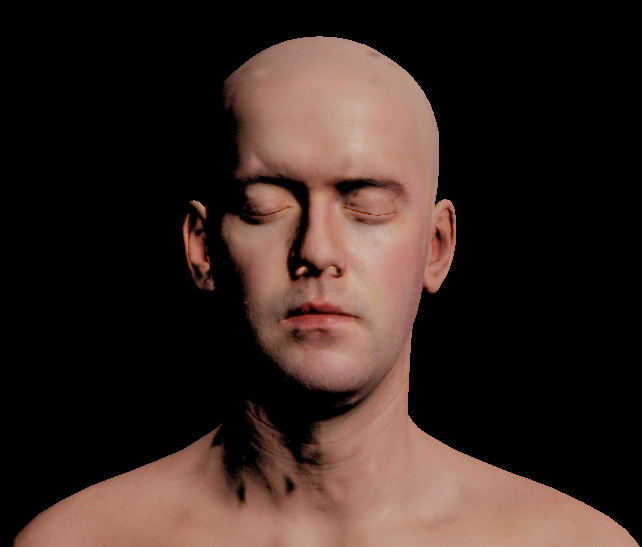
Alternatively utilize PBR which is parameterized differently based on realistic parameters such as "roughness" or "metalness". There are also a number of other features. Here is how to use that with textures for diffuse, normals, and ambient occlusion.
Optimization
Two important flags of this material that are by default on.
- RenderMaterial::setRecomputeVertexNormals: When on the vertex buffer is continuously updated.
- RenderMaterial::setIsDynamicMesh: When off buffers aren't not even checked for changes. A transform can still be applied through the shader.
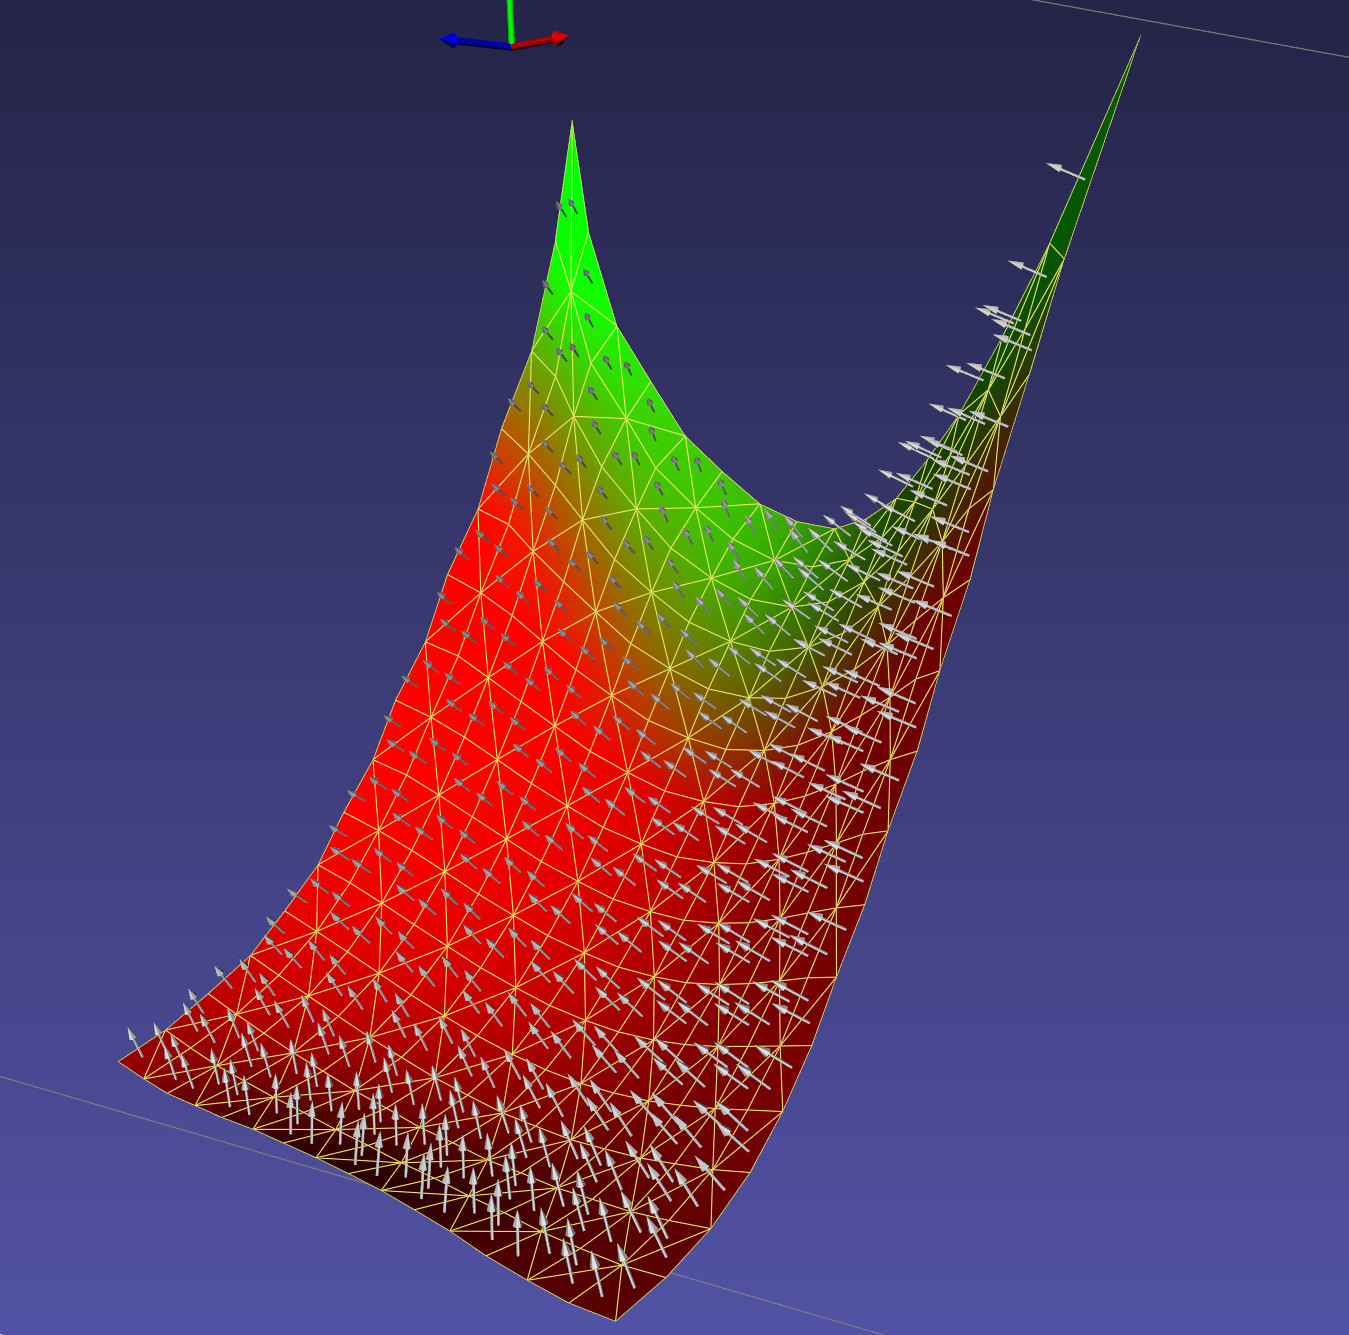
DisplayMode::SurfaceNormals
This display mode can be used to quickly render face windings.
DisplayMode::Fluid
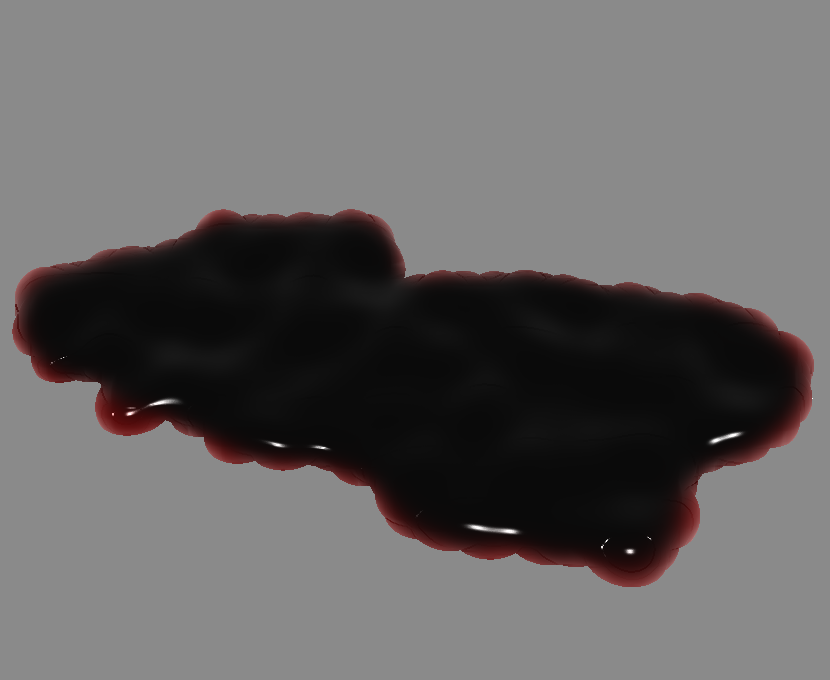
This display mode uses screen-space fluids to render.
DebugGeometryModel
The DebugGeometryModel can be used to quickly render primitives.
CollisionDataDebugModel
The CollisionDataDebugModel extends the DebugGeometryModel providing quick rendering of CollisionData from a CollisionDetectionAlgorithm.
TextVisualModel
TextVisualModel can be used in iMSTK to render text to the corners or center of the screen:
Ghost Rendering
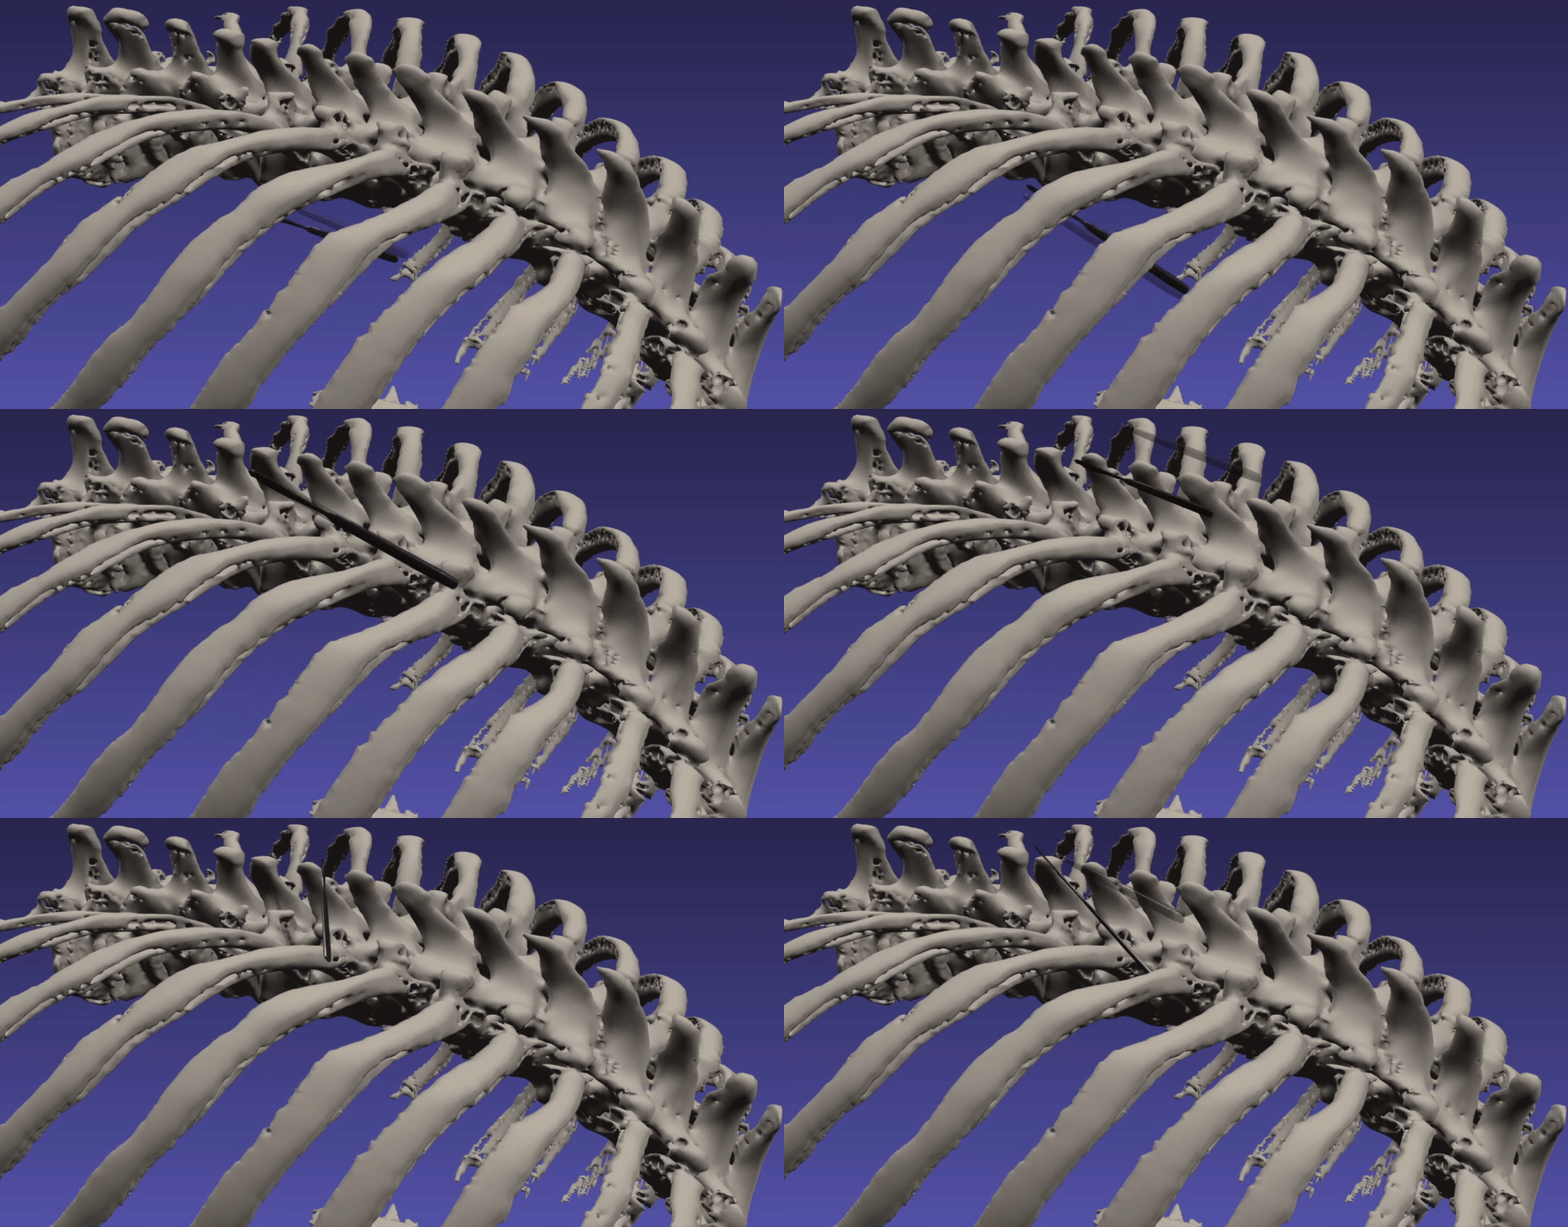
Given a PbdObjectController one can quickly render the ghost of the controller with ObjectControllerGhost as follows:
Force Text Rendering
It can often be useful to see the forces experienced by the user. This can be done easily by adding a ControllerForceText component.
Per Vertex Labelings
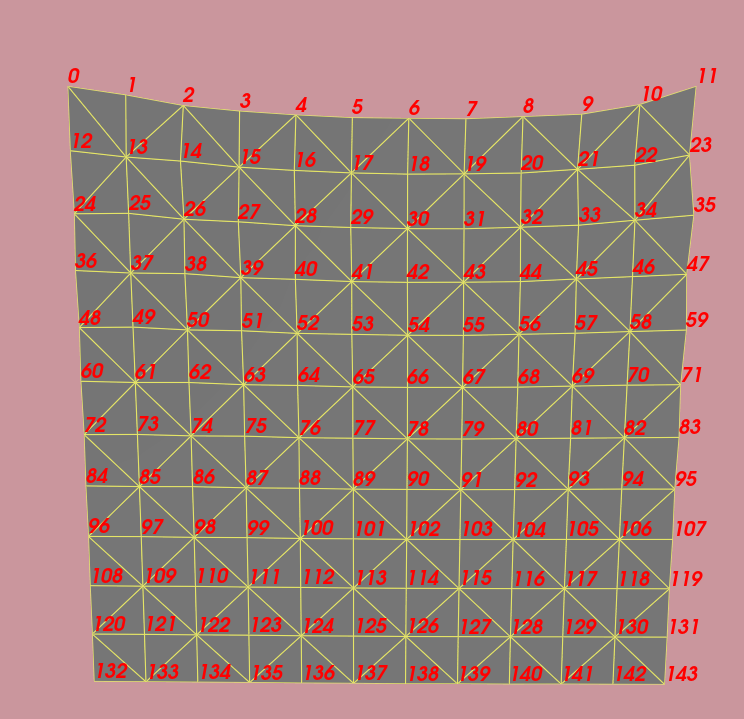
The VertexLabelVisualModel was introduce to allow quick debugging and numbering of vertex indices/numberings. It can be configured like so:
AxesModel
The AxesModel can be used to quickly render a axes basis.
VolumeRenderMaterial
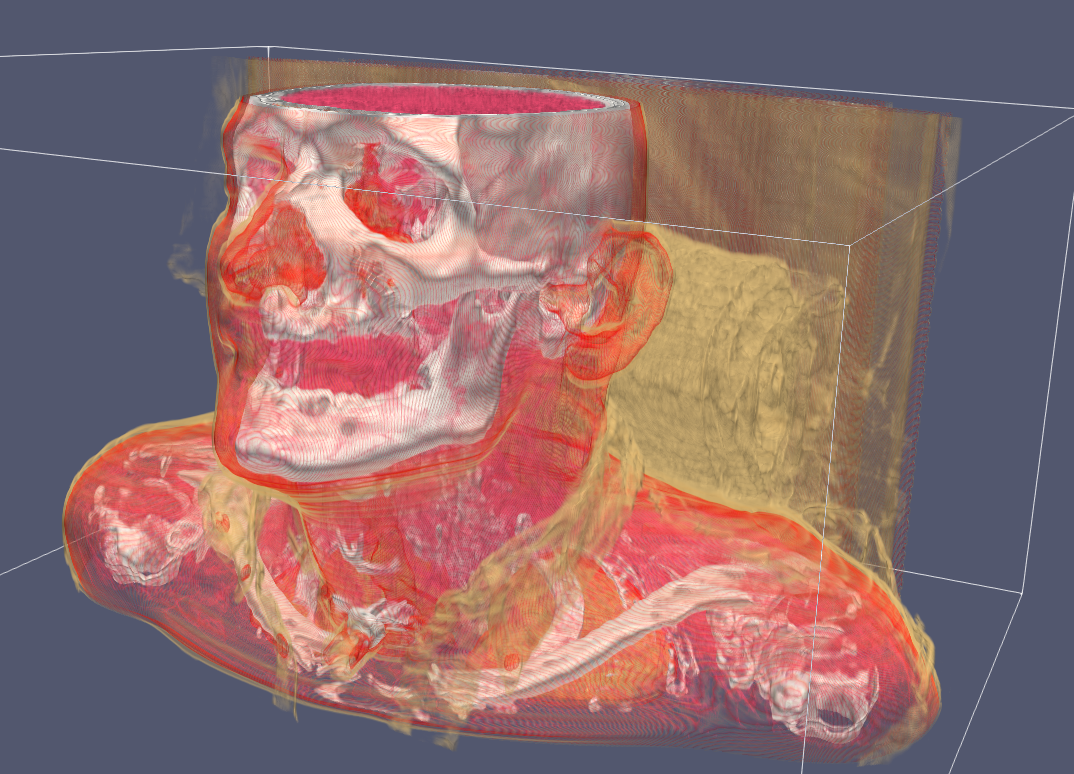
The VolumeRenderMaterial exposes VTK objects for rendering, it can be used as:
Here set both a color and opacity function. As we render the volume (by marching along a ray shot from the screen) we sample the image we are rendering and lookup a color and opacity. These functions specify this. AddRGBPoint(intensity, r, g, b) and AddPoint(intensity, opacity).
A number of presets (which may or may not fit your image/volume) are also available which can be used as below:
Custom RenderDelegates & VisualModels
If one needs to implement their own rendering capabilities the VisualModel's and RenderDelegates can be extended. Extending the VisualModel the delegate hint can be provided.
If iMSTK is provided a delegate hint in a VisualModel it will first look to construct the corresponding RenderDelegate using this hint. iMSTK, by default, has many registrations. One can add a registration in their own code by defining a VTKChartRenderDelegate and adding:
Lights
iMSTK provides three types of lights. - PointLight: Specified with a position, intensity, color. - DirectionalLight: Specified with a direction, intensity, color. - SpotLight: Specified with a position, focal point, cone angle, intensity, color.
All lights can also work with constant, linear, and quadratic falloff.